
在Debian中安装MySQL8/在Linux中安装MySQL8
参考:
- https://blog.csdn.net/weixin_34209060/article/details/113141283
- https://www.linuxidc.com/Linux/2019-08/159877.htm
安装步骤:
-
查看自己系统的发行版信息:
cat /etc/issue -
查看是几位的系统:
uname -a -
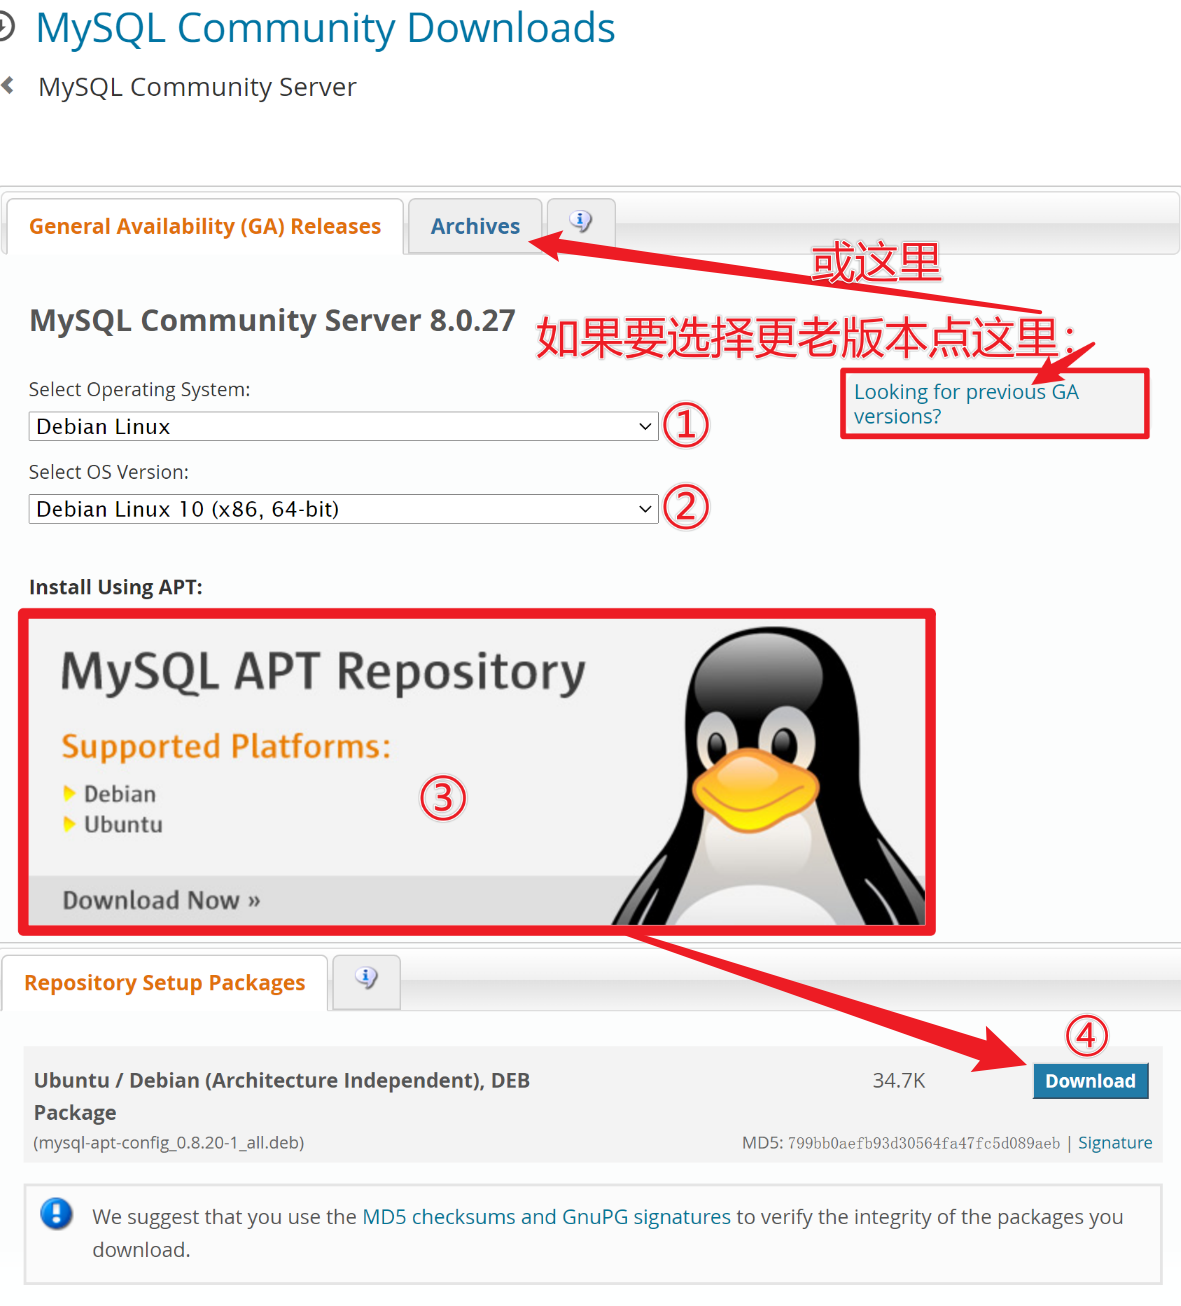
按照截图步骤下载文件:mysql-apt-config_0.8.20-1_all.deb
-
执行:
sudo apt install ./mysql-apt-config_0.8.20-1_all.deb -
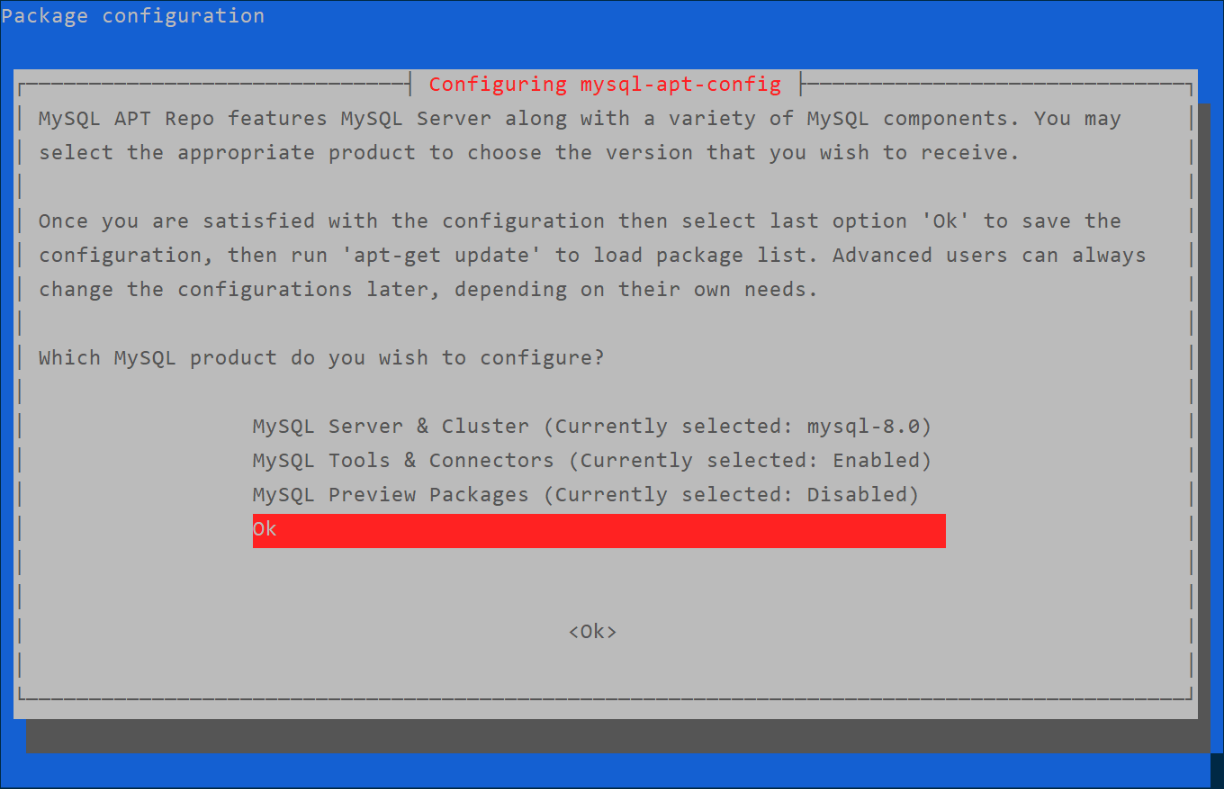
只要遇到下图这种选择,选最后一个即可(如果要安装其他版本,则选择MySQL Server & Cluster)
-
执行:
apt update && apt install mysql-server -
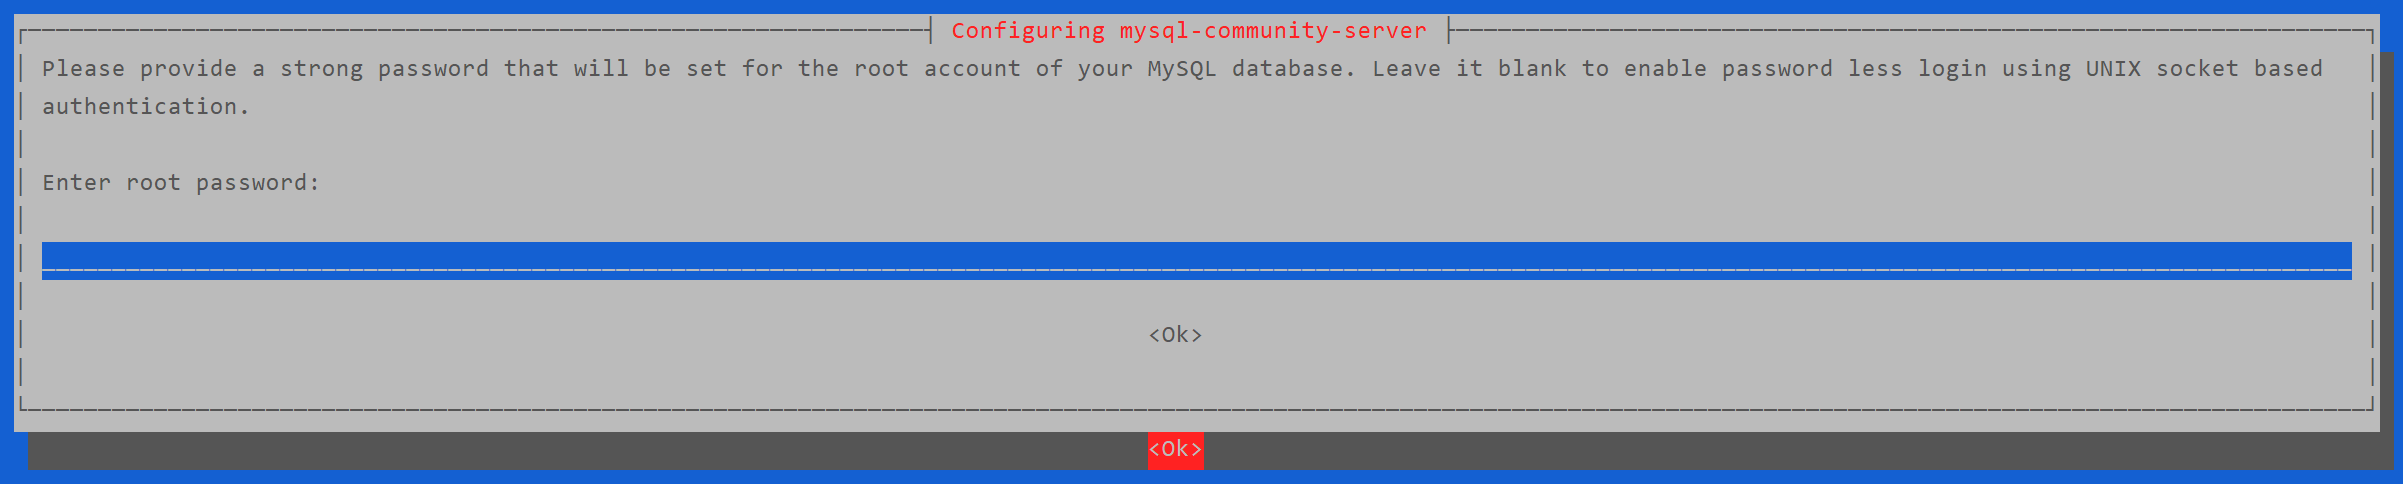
在安装的过程中,会有弹窗要求设置root密码,先不输入,用箭头选择底部的OK。
-
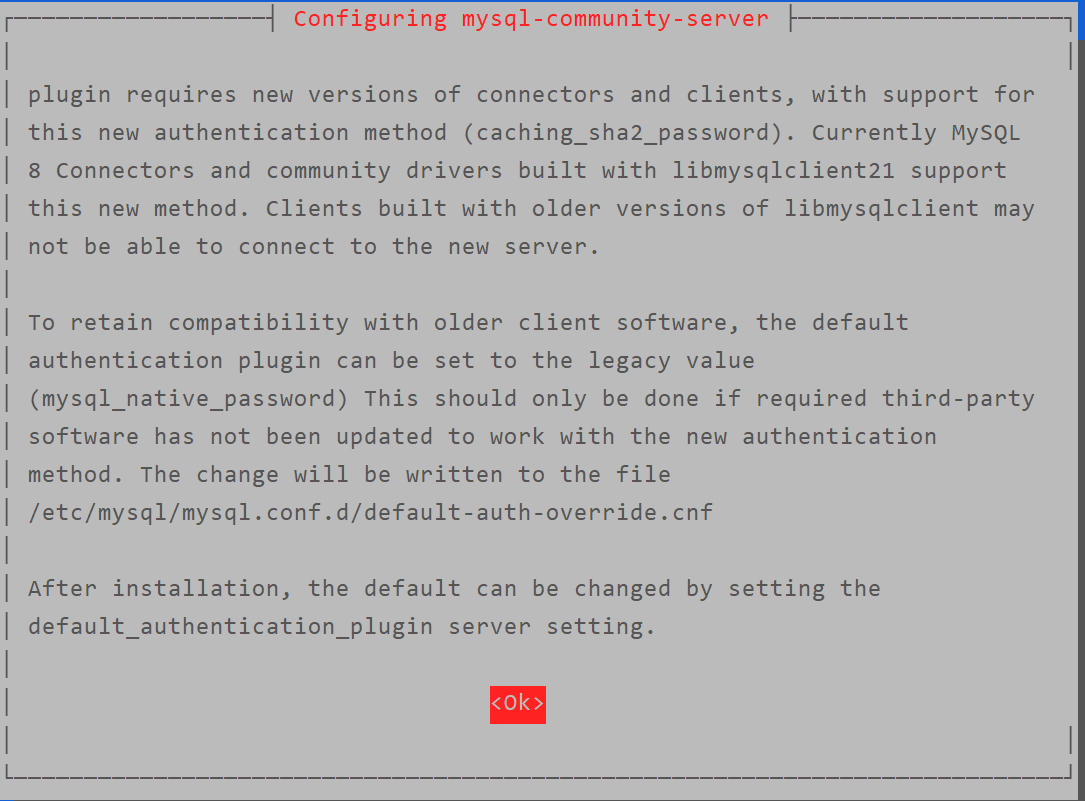
再次遇到弹窗,使用下到文本底部,按左或右箭头,选择OK。
-
配置验证插件,选择"Use Strong Password Encryption"
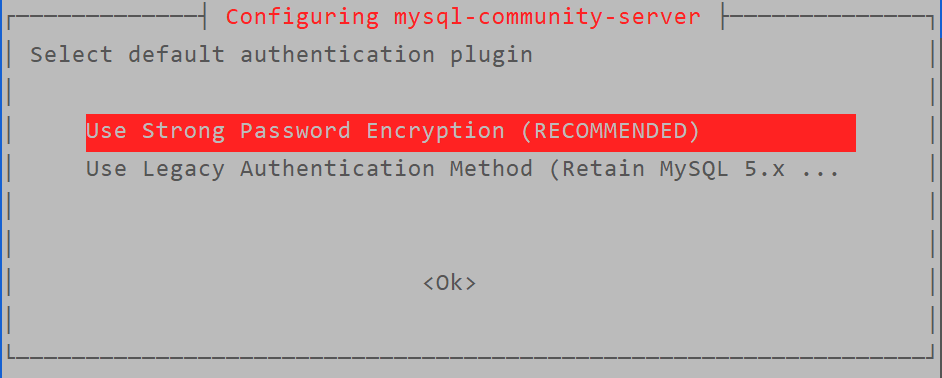
-
执行
sudo systemctl status mysql大约会返回以下信息:● mysql.service - MySQL Community Server Loaded: loaded (/lib/systemd/system/mysql.service; enabled; vendor preset: enabled) Active: active (running) since Thu 2021-12-23 18:23:15 CST; 5min ago Docs: man:mysqld(8) http://dev.mysql.com/doc/refman/en/using-systemd.html Process: 9886 ExecStartPre=/usr/share/mysql-8.0/mysql-systemd-start pre (code=exited, status=0/SUCCESS) Main PID: 9921 (mysqld) Status: "Server is operational" Tasks: 37 (limit: 4528) Memory: 353.5M CGroup: /system.slice/mysql.service └─9921 /usr/sbin/mysqld Dec 23 18:23:14 username systemd[1]: Starting MySQL Community Server... Dec 23 18:23:15 username systemd[1]: Started MySQL Community Server. -
执行
sudo mysql_secure_installation设置root密码和安全相关设置。 -
要设置校验密码组件?,不设置,输入n
Would you like to setup VALIDATE PASSWORD component? -
设置root用户密码。如果MySQL无需密码也能登录,也可以执行此步骤重置密码。
root@username:~# mysql_secure_installation
Please set the password for root here.
New password:
Re-enter new password:
移除匿名用户?,输入y
Remove anonymous users? (Press y|Y for Yes, any other key for No) : y
禁止root用户远程登录?,输入n
Disallow root login remotely? (Press y|Y for Yes, any other key for No) : n
移除测试数据库和权限?,输入y
Remove test database and access to it? (Press y|Y for Yes, any other key for No) : y
重新载入特权表?,输入y
Reload privilege tables now? (Press y|Y for Yes, any other key for No) : y
Success.
All done!
- 远程连接MySQL,参考链接:
- 在第16步输入n后,root用户就被允许远程登录了,不过还需要设置一下阿里云的安全组,添加规则允许MySQL端口(默认3306)通行。此时先别连接,如果远程连接还会报错:
message from server: "Host 'xxx.xxx.xxx.xxx(ip)' is not allowed to connect to this MySQL server,继续往下看。 - 在命令行使用root登录MySQL后,执行:
use mysql;->GRANT ALL ON *.* TO 'root'@'%',如果报错You are not allowed to create a user with GRANT,则执行update user set host = '%' where user = 'root';,如果再报错,则执行update user set host = '%' where user = 'root' and host='localhost';,然后再次执行GRANT ALL ON *.* TO 'root'@'%'->flush privileges;,此时应该就可以远程连接了。如果用Navicat连接报错Client does not support authentication protocol requested by server;,则说明Navicat的加密方式和MySQL方式不一样(mysql8默认的加密方式为caching_sha2_password与mysql5的加密方式mysql_native_password不同),修改MySQL的加密方式即可:ALTER USER 'root'@'%' IDENTIFIED WITH mysql_native_password BY '密码';然后重试使用客户端连接
- 在第16步输入n后,root用户就被允许远程登录了,不过还需要设置一下阿里云的安全组,添加规则允许MySQL端口(默认3306)通行。此时先别连接,如果远程连接还会报错:
Q.E.D.